import { CodeBlock } from '../views/docs/CodeBlock';
import { CodeTabs } from '../views/docs/CodeTabs';
import { Callout, NextLink, Prose, PropTable } from '../views/docs/prose';
## Twilio Elastic SIP Integration
Looking for TwiML examples? Check out our [Twilio Programmable Voice / TwiML guide](./twilio-programmable-voice).
If you already own a phone number in Twilio and want to connect it to a Guava agent, you can do so using Twilio Elastic SIP Trunking.
### Create a Guava SIP code
Every SIP integration in Guava requires a `guavasip` code. `guavasip` codes are used to route inbound calls to agents — agents can listen to them and peers can dial them.
Open the [SIP page in the Guava dashboard](https://app.goguava.ai/dashboard/sip) and click **Create SIP Code**.
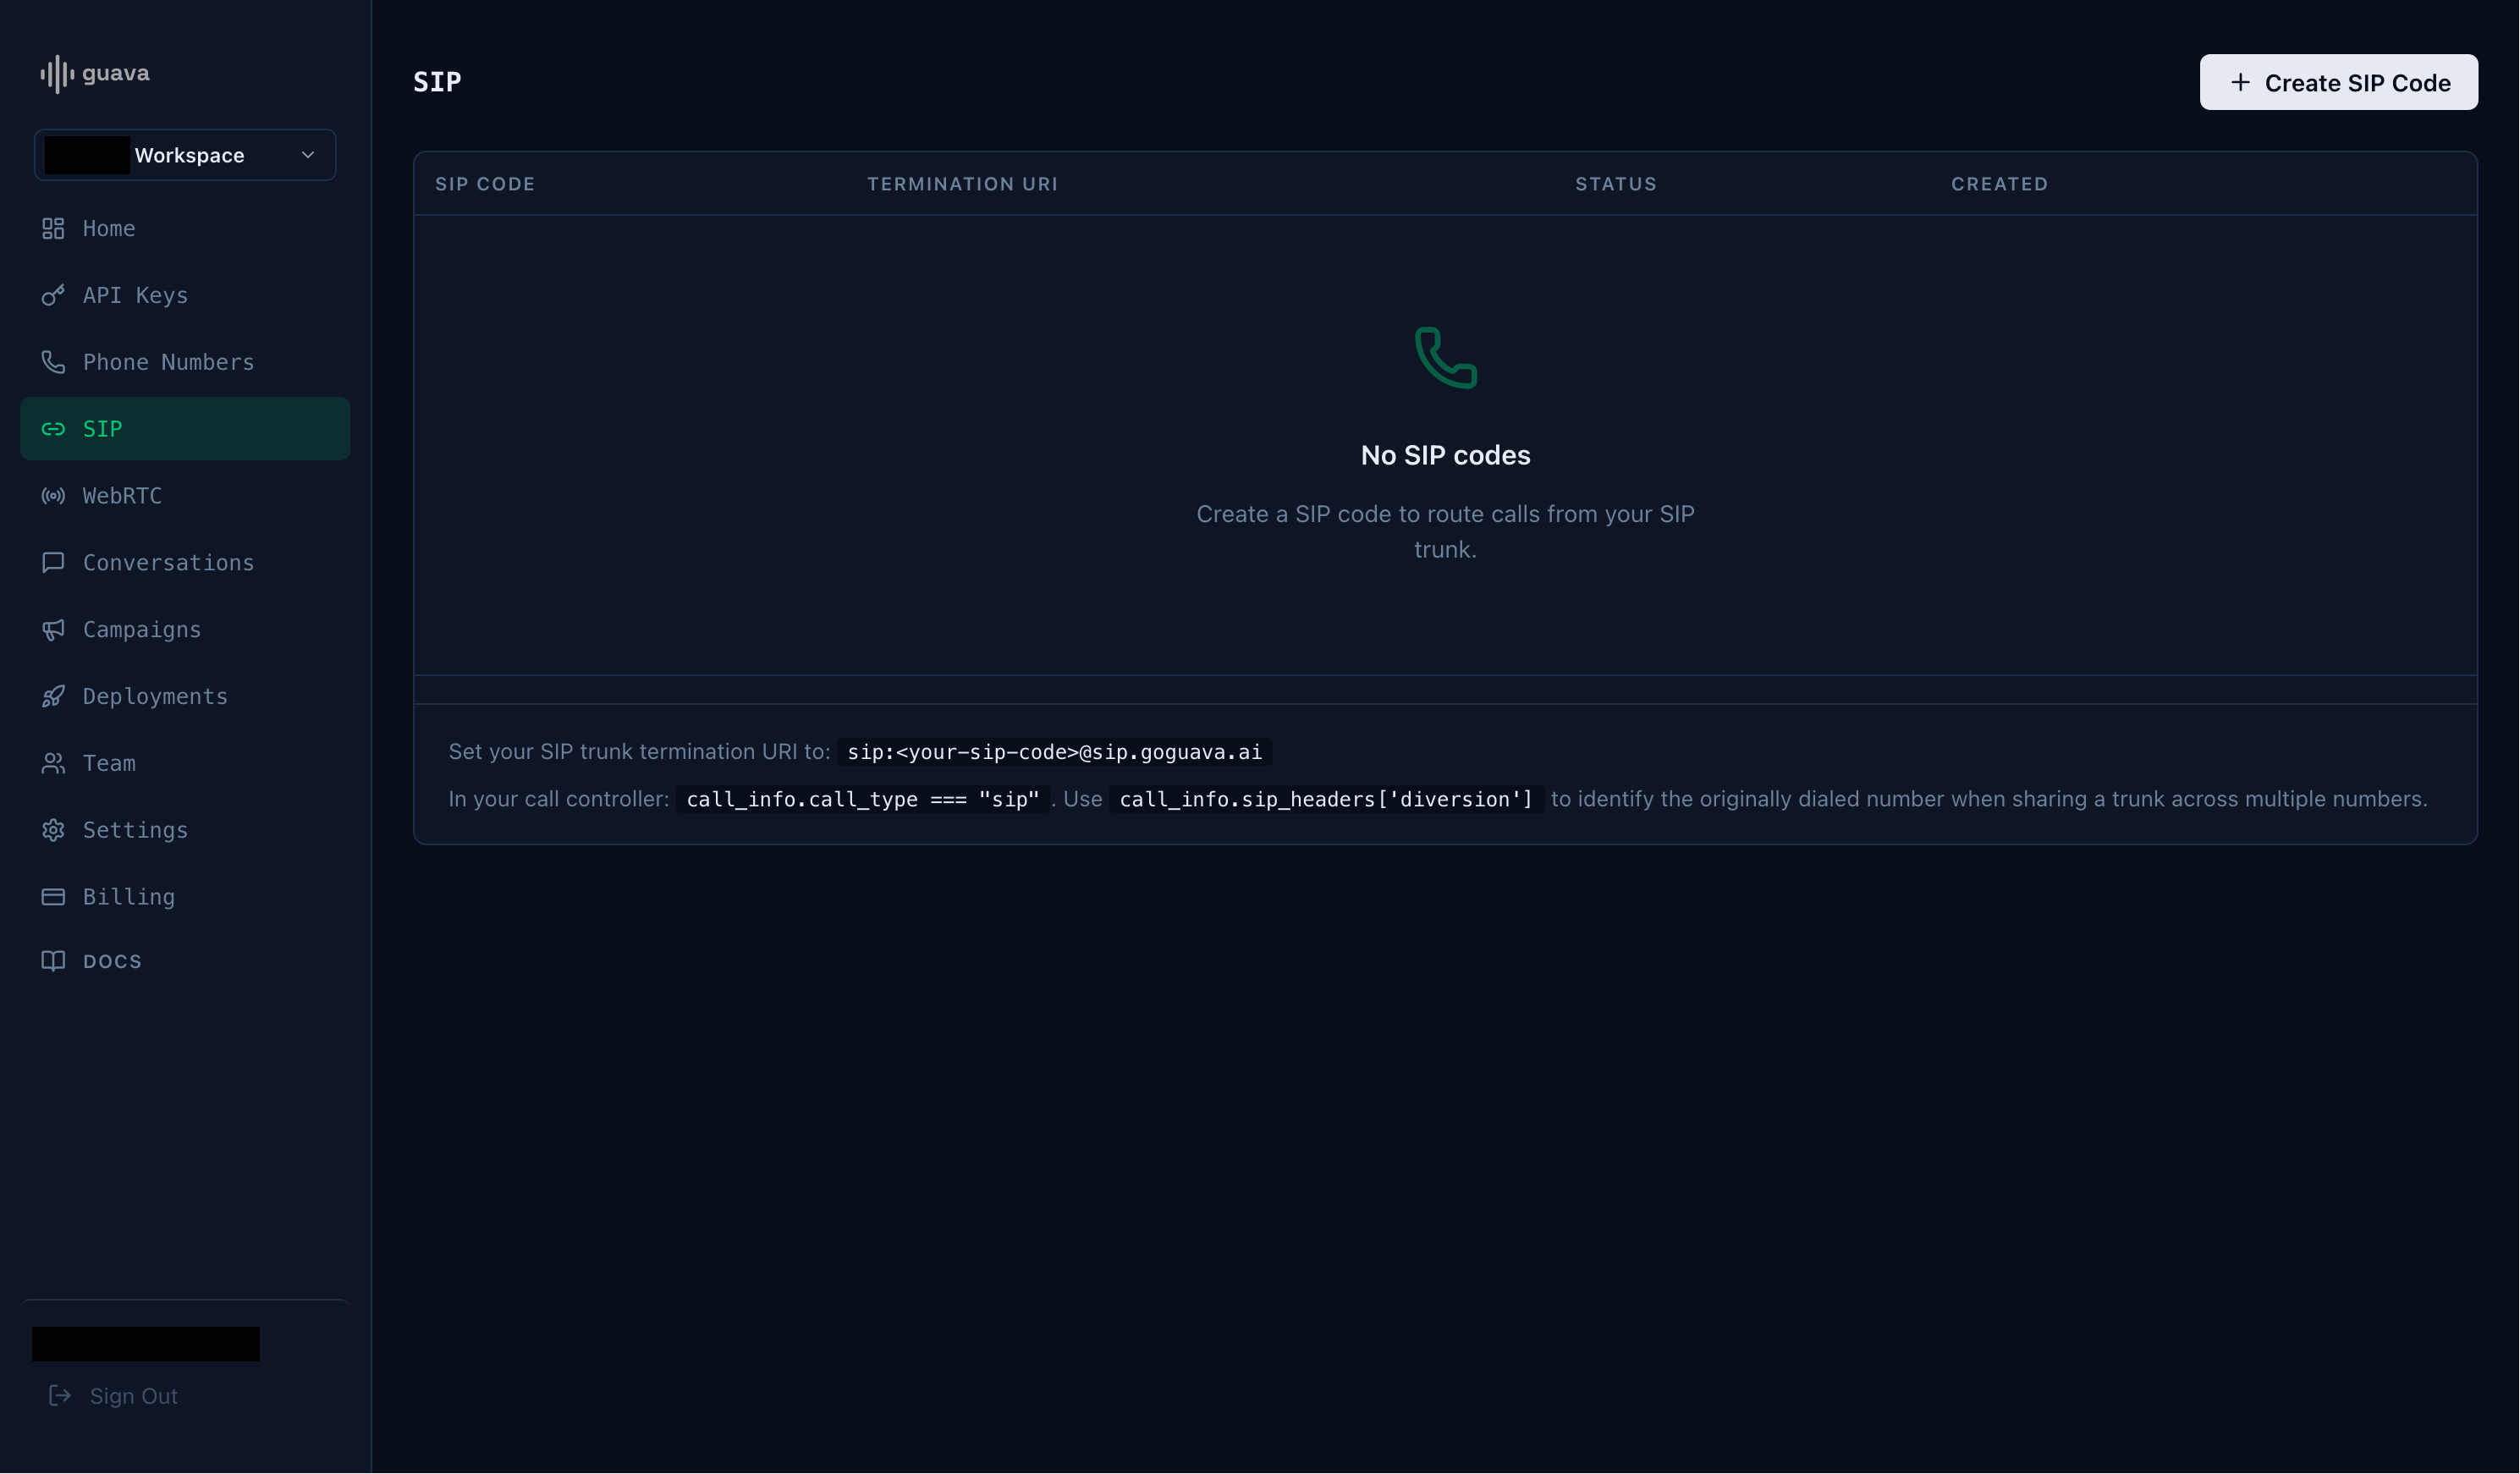
Take note of the SIP code and the termination URI.
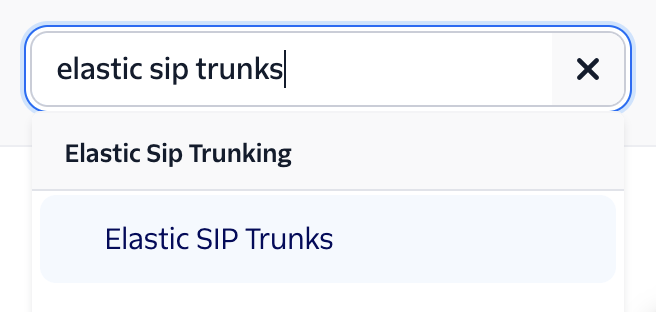
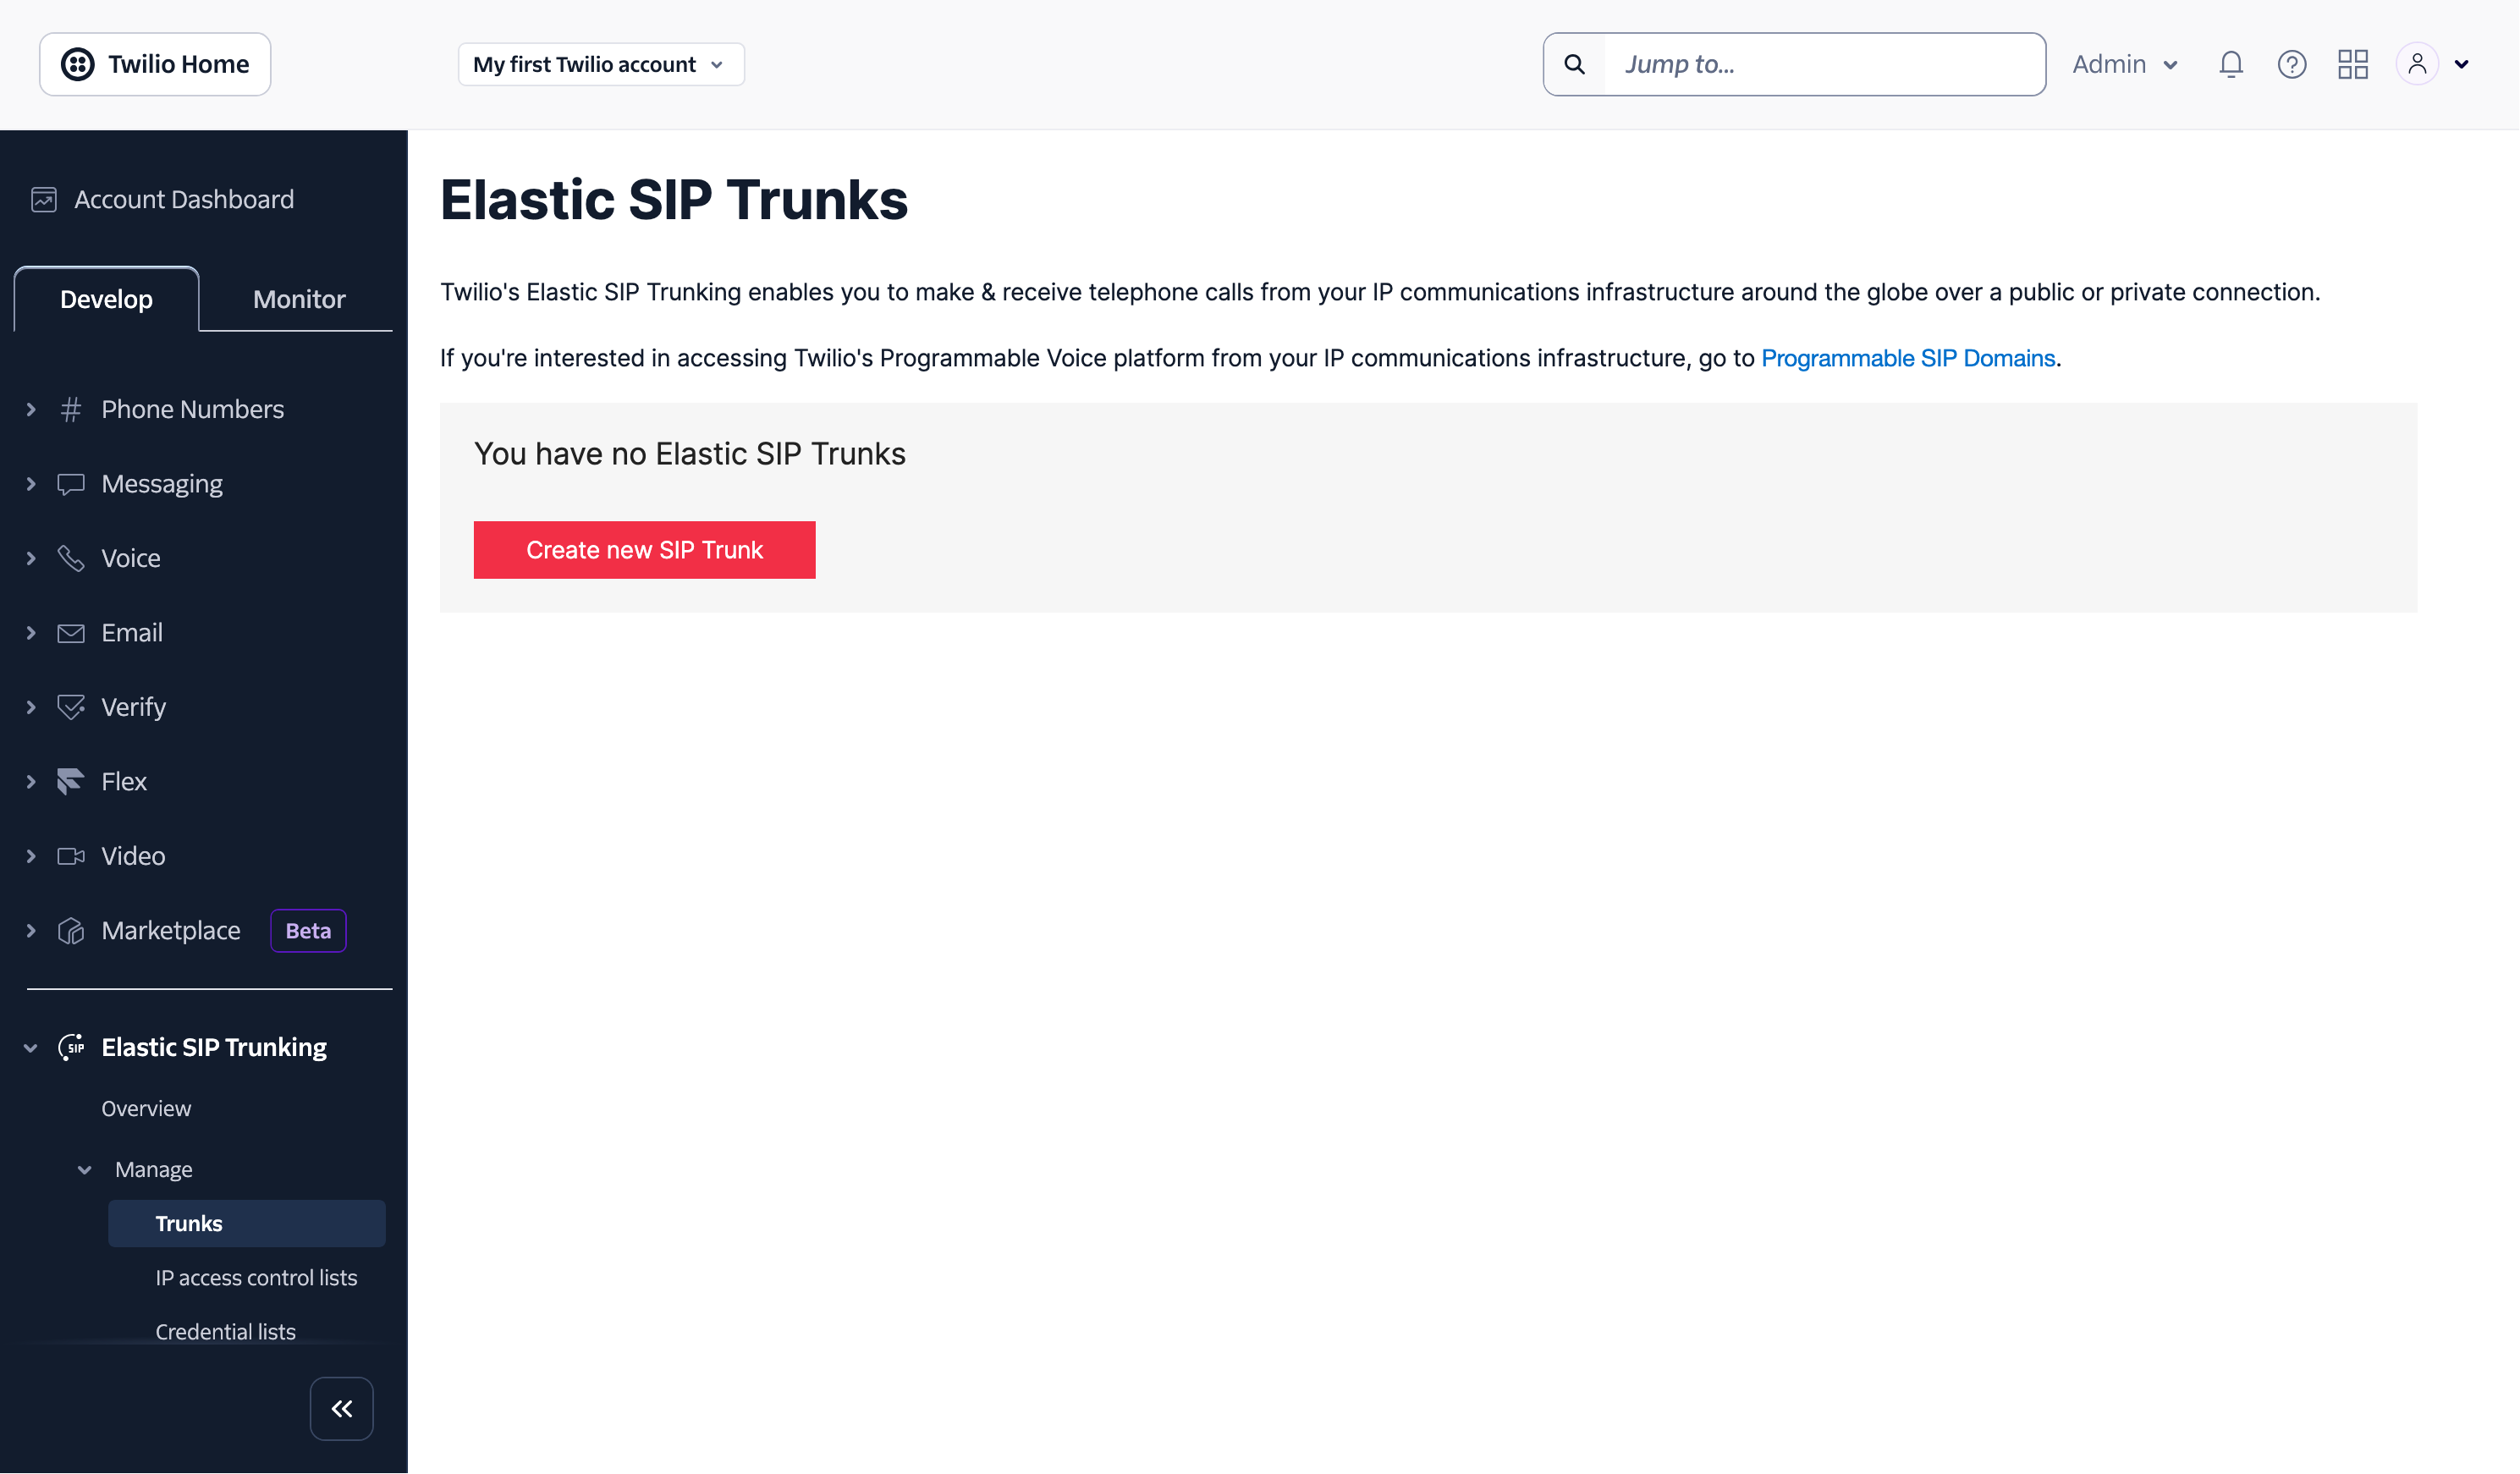
### Create a Twilio Elastic SIP trunk
Navigate to the "Elastic SIP Trunks" page on your Twilio Console. You can find it using the search bar in the top right.
Click **Create new SIP Trunk** and provide the trunk with a name.
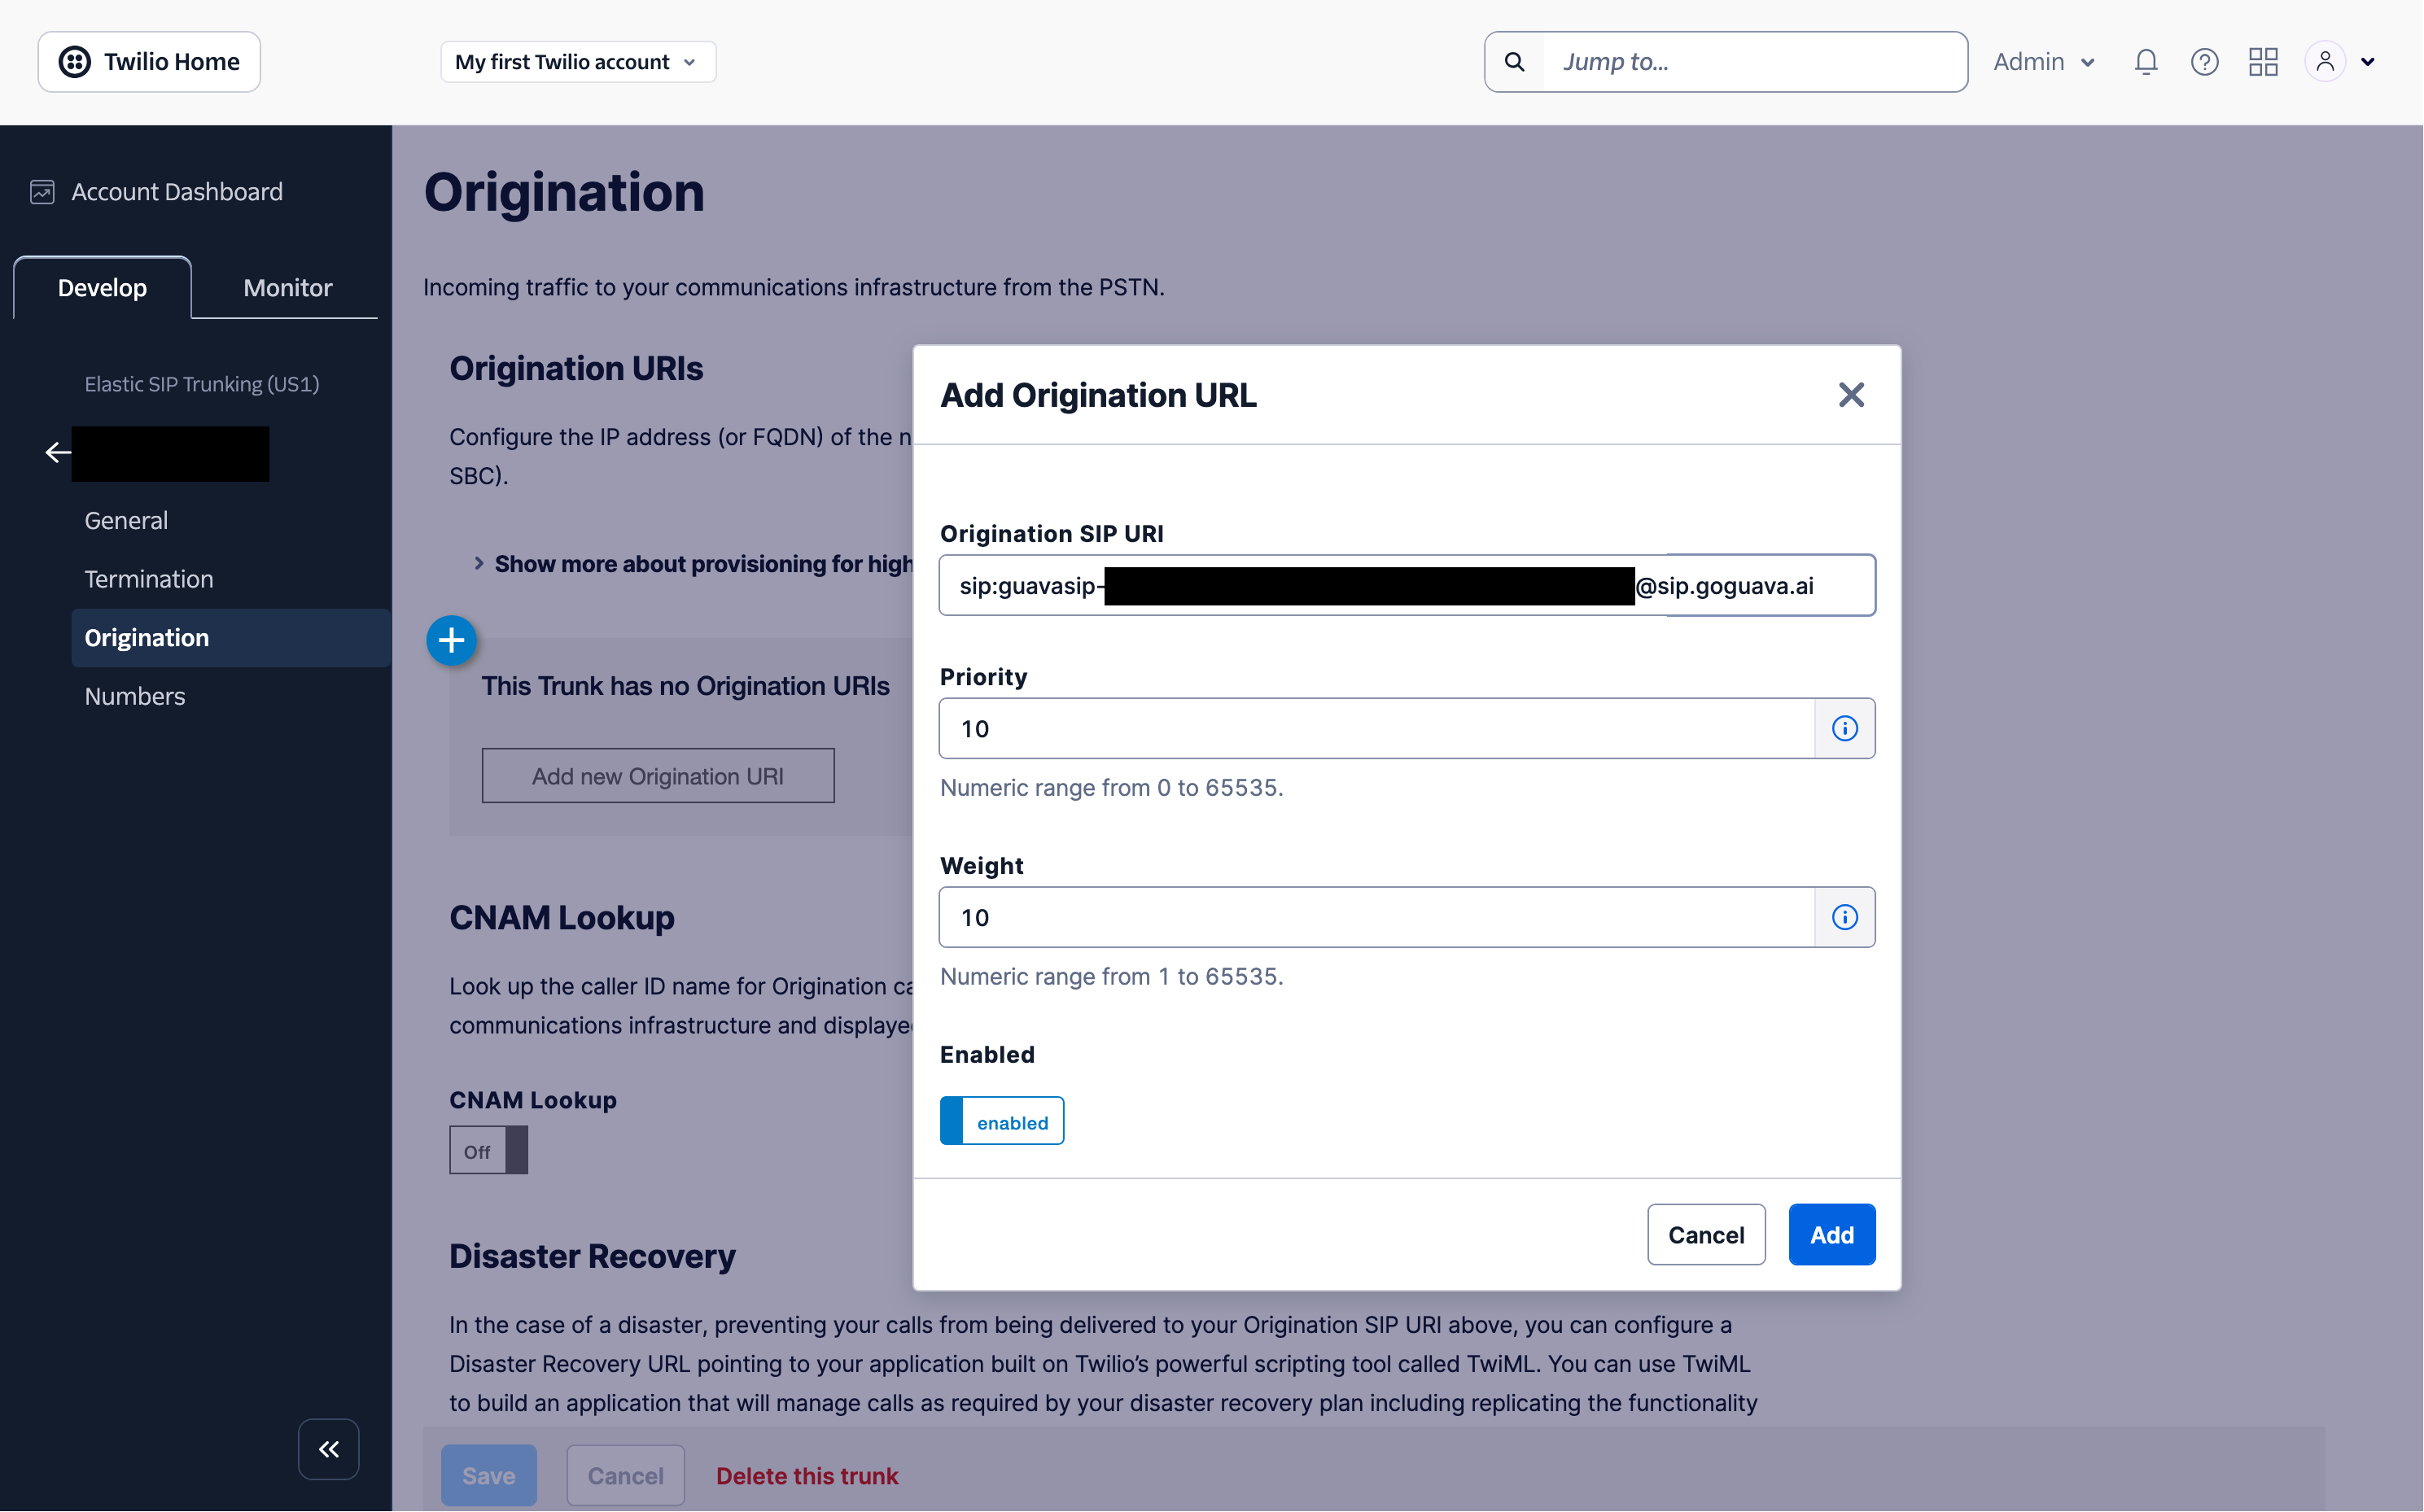
### Set the Origination URI
On the trunk's settings page, click **Origination** on the left hand side. Then click **Add new Origination URI** and enter your Guava termination URI (e.g. `sip:guavasip-xxx@sip.goguava.ai`). Then click **Add**.
### Assign a number to the Trunk
Assuming you already have a number in your Twilio account, under the **Develop** tab, go to **Phone Numbers** > **Manage** > **Active Numbers** and select that number. Select **Configure with** and change that setting to **SIP Trunk**. Then select the **SIP Trunk** dropdown and select the SIP trunk you created earlier.
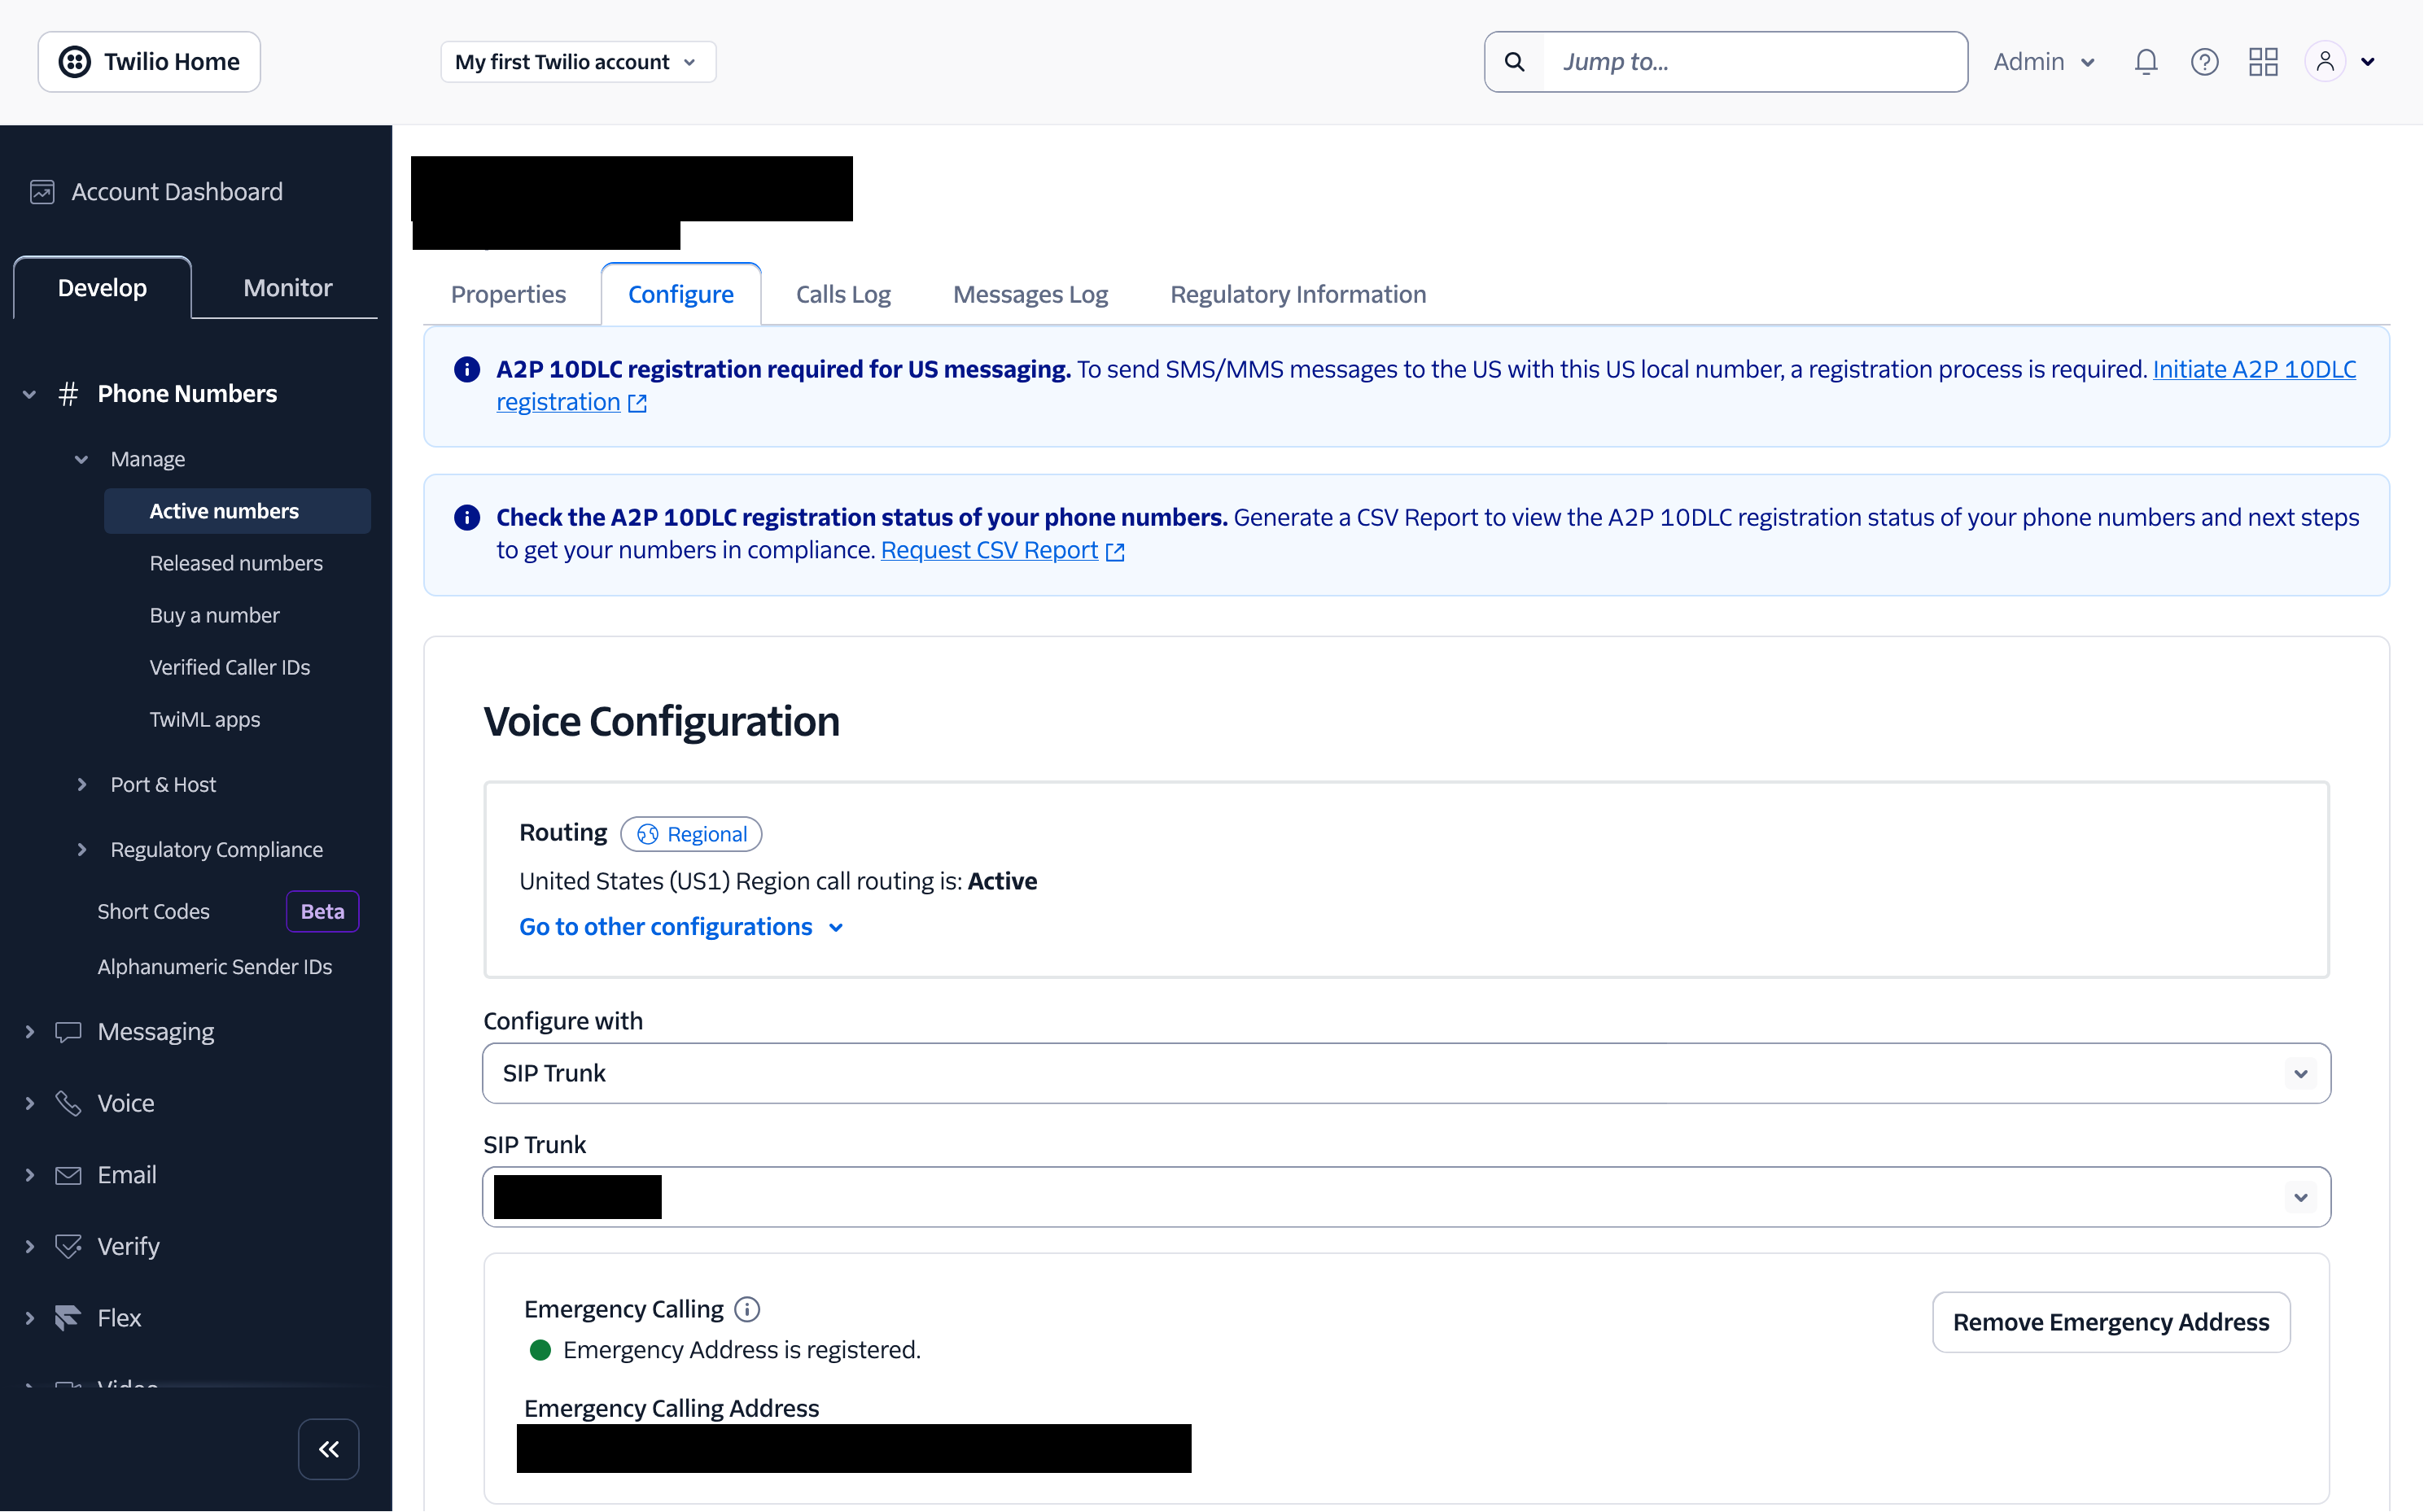
Finally, scroll down and click **Save Configuration**.
### Start an agent
Next, start an agent using `agent.listen_sip("guavasip-xxx")`. This is the SIP equivalent of `agent.listen_phone(...)` — Guava forwards every call addressed to that code to your agent.
### Call your number
Call your number and you should be able to reach your agent.